






A properly installed sliding glass door should open smoothly, close securely, and keep Florida heat, wind, and heavy rain outside. Even a high-quality impact or energy efficient door can develop leaks, drafts, operational problems, or premature damage when the frame, track, flashing, or sealant is installed incorrectly.
Homeowners in Bradenton, Sarasota, Venice, Port Charlotte, Fort Myers, Naples, and surrounding Gulf Coast communities can look for several practical signs of installation quality. Some issues are noticeable immediately, while others appear during a strong rainstorm or after months of exposure to heat and humidity.
Start With the Door’s Movement and Alignment
A correctly installed sliding glass door should move along the track with steady, controlled pressure. It should not scrape, wobble, jump off the track, or require excessive force to open and close. While large impact glass panels are naturally heavier than standard panels, the rollers and track should still allow the door to operate smoothly when they are properly adjusted.
Open the door several inches at a time and observe the gap between the moving panel and the frame. The spacing should remain consistent from top to bottom. If the panel appears tilted, rubs against the frame, or closes at the top before meeting the jamb at the bottom, the frame may be out of square or the rollers may need adjustment.
Check the Lock and Handle Operation
The locking mechanism should engage without lifting, pushing, or pulling the door into position. A lock that only works when extra pressure is applied may indicate poor panel alignment. This is more than an inconvenience because an improperly engaged lock can reduce security and prevent the weather seals from making full contact.
The handle should also feel secure, with no loose movement around the mounting points. If the lock worked during the initial installation but quickly became difficult to use, the door may have settled because the frame was not adequately fastened or supported.
Inspect the Frame, Track, and Perimeter Seals
The frame should sit straight and firmly within the wall opening, with no visible twisting, bowing, or gaps. Look closely where the door frame meets the stucco, siding, or interior finish. Sealant should form a continuous, neat barrier around the perimeter rather than appearing thin, cracked, separated, or randomly applied.
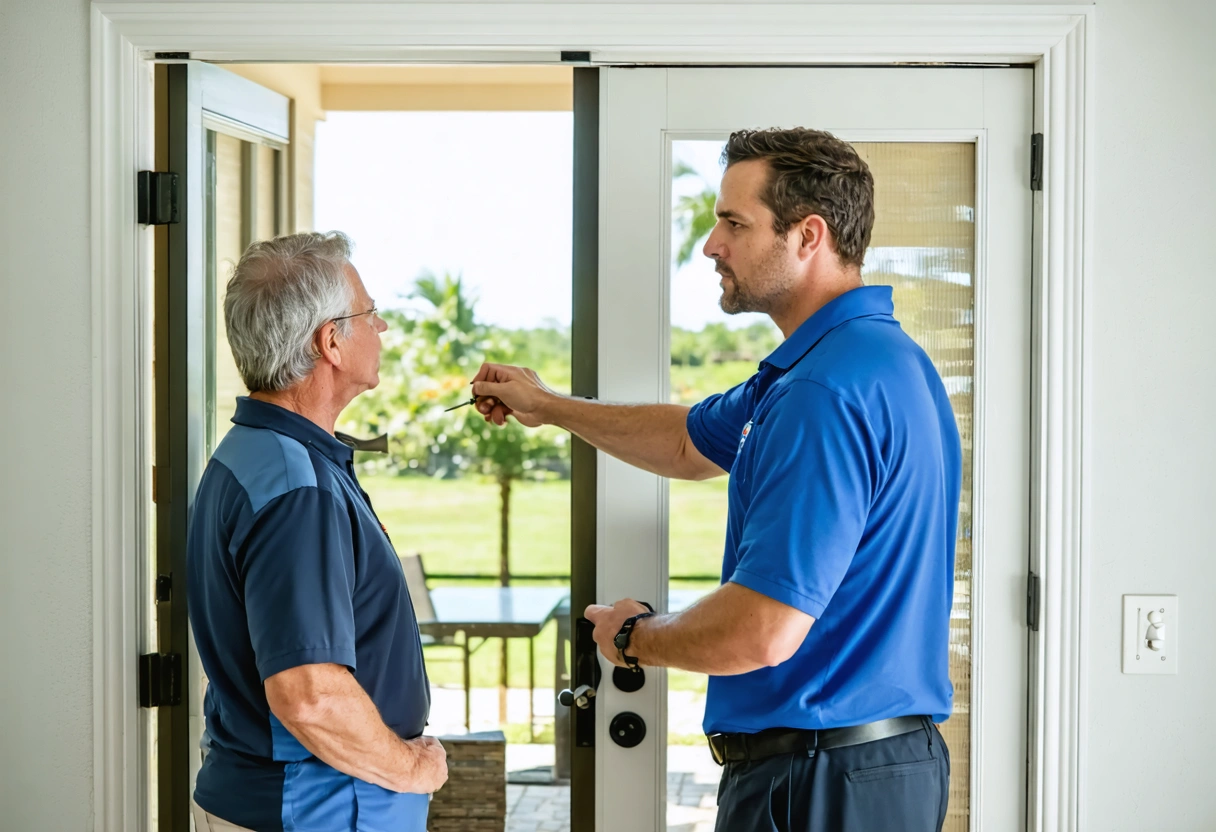
In Florida homes, perimeter sealing is especially important because wind driven rain can enter through very small openings. Exterior caulk alone does not confirm that the opening was properly waterproofed. Correct installation may also require suitable flashing, sill preparation, compatible sealants, and careful integration with the home’s existing water management system.
Look for Water and Air Intrusion
After heavy rain, inspect the interior floor, baseboards, and wall surfaces near the door for moisture, staining, bubbling paint, or a musty smell. Water collecting in the exterior portion of the track is not always a defect because many sliding door systems are designed with drainage paths. Water crossing into the home or remaining trapped where it cannot drain should be evaluated.
You can also check for air leakage by standing near the closed door on a windy day and feeling around the meeting rail, jambs, and frame perimeter. Noticeable drafts, whistling sounds, or daylight around the panel may indicate damaged weatherstripping, poor adjustment, or an installation gap that could affect energy efficiency and storm performance.
Test the Track and Drainage System
Sliding glass door tracks are designed to manage limited amounts of rainwater through small drainage openings known as weep holes. These openings should be clear of construction debris, sealant, dirt, and other obstructions. If the weep holes are blocked, water can collect in the track and eventually overflow toward the interior.
Inspect the sill after a rainstorm and confirm that water drains toward the exterior. The track should not be pitched toward the room. Persistent puddling, water beneath the flooring, or moisture at the corners of the frame may indicate an improper sill slope, failed seal, missing waterproofing, or blocked drainage path.
Do Not Seal Intended Drainage Openings
A common installation mistake is applying caulk across openings that were designed to release water. Although sealing every visible gap may seem helpful, covering factory drainage channels can trap moisture inside the frame. Water may then enter the wall assembly or travel beneath nearby flooring.
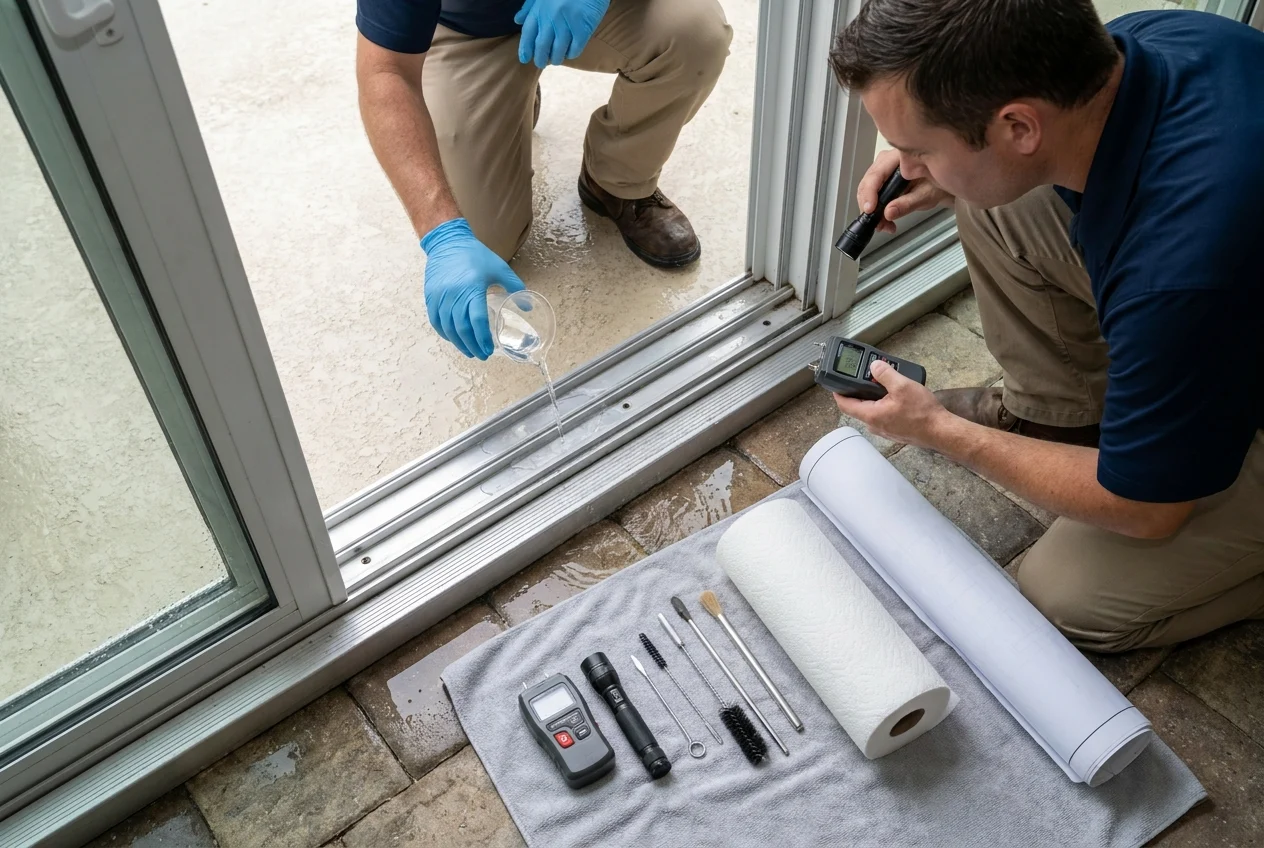
Before adding sealant to a track or sill, consult the door manufacturer’s installation instructions or have the system inspected by an experienced installer. Sealant should protect vulnerable joints without interfering with the product’s intended drainage design.
Examine the Glass, Panels, and Weatherstripping
Each glass panel should sit securely within its frame without rattling during normal operation. The glass should not appear loose, and the glazing seals around its edges should be continuous and properly seated. Cracked gaskets, separated glazing material, or visible gaps around the glass can allow air and moisture to enter.
Weatherstripping should make consistent contact when the door is fully closed. Check along the meeting rails where two panels overlap, as well as the top, bottom, and jamb sides. Bent, crushed, missing, or folded weatherstripping may prevent the system from sealing correctly.
Watch for Fogging Between Glass Panes
Condensation on the room side or exterior surface of the glass can occur because of temperature and humidity differences. Fogging or moisture trapped between panes is different. It often indicates that the insulated glass seal has failed.
A failed glass seal is not always caused by installation, but frame distortion, improper handling, or excessive pressure on the glass can contribute to premature failure. Moisture between panes reduces visibility and can affect the energy performance of an insulated glass unit.
Confirm the Threshold Is Stable and Properly Supported
The threshold should feel solid when stepped on and should not flex, shift, or make cracking sounds. Large sliding glass door systems are heavy, particularly when they contain laminated impact glass. The sill must be placed on a level, stable, and properly prepared surface that supports the frame along its required contact points.
Insufficient support can cause the track to bend or settle over time. This may lead to difficult operation, uneven panel gaps, water intrusion, and locking problems.
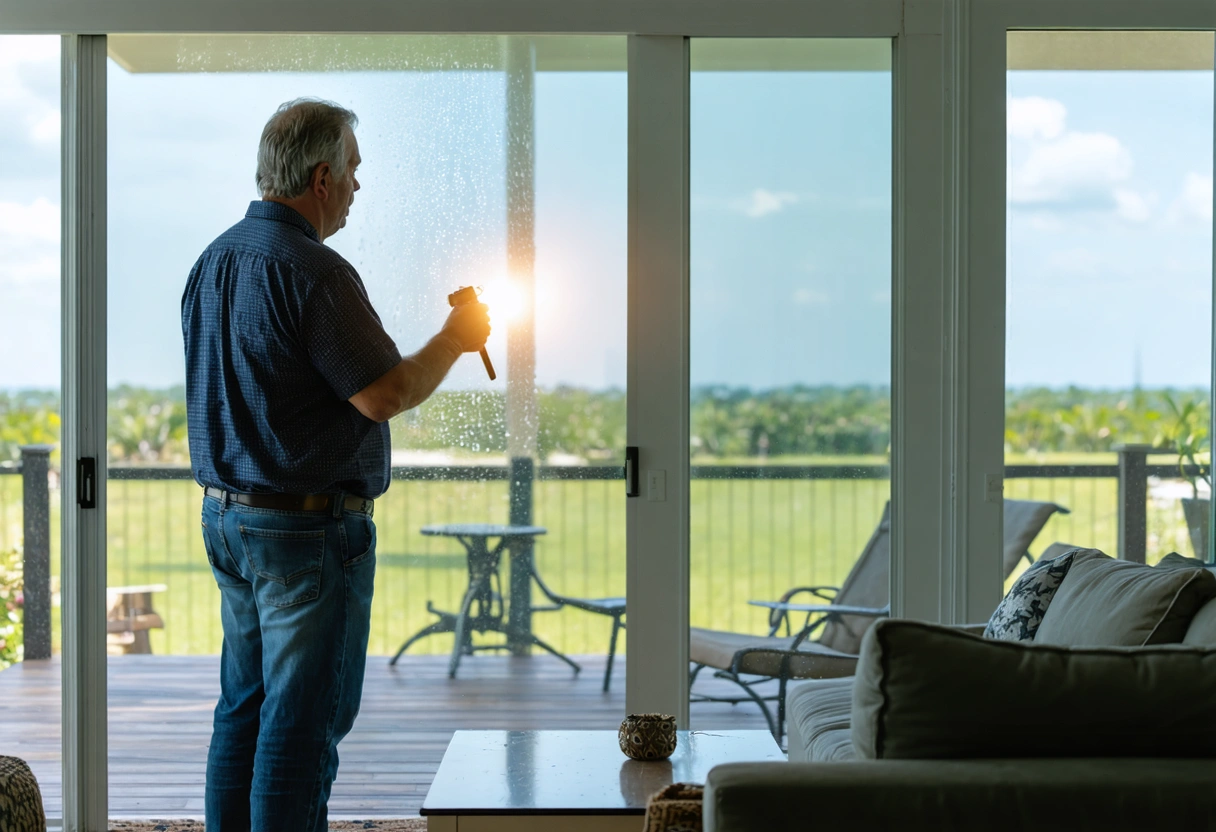
Check Transitions to Interior and Exterior Surfaces
Look at how the threshold meets tile, concrete, pavers, lanais, and other adjacent surfaces. Exterior surfaces should not direct water toward the door. If a patio or paver area sits too high against the threshold, heavy rain may overwhelm the drainage system and increase the risk of water entering the home.
Interior flooring should be neatly finished without concealing drainage components or forcing the door frame out of position. Flooring materials should not interfere with panel movement or prevent access to the track for cleaning and maintenance.
Look for Evidence of Proper Fastening
A sliding glass door must be anchored according to the product approval, manufacturer instructions, opening type, and applicable building requirements. Fasteners must be the correct type, size, spacing, and embedment for the surrounding construction.
Homeowners usually cannot verify every concealed fastener after installation. However, missing fasteners in visible frame locations, distorted screw holes, loose frame sections, or fasteners driven so tightly that they bend the frame are warning signs.
Impact Glass Does Not Correct Poor Installation
An impact rated sliding glass door is tested as a complete system that includes the glass, frame, locks, anchors, and installation method. Installing an impact panel in an inadequately anchored or poorly prepared opening does not provide the intended level of storm protection.
Product labels and Florida product approval documentation can help identify the system and its approved installation requirements. The door should match the specifications used for the permit and installation, including the approved configuration, design pressure, anchoring method, and opening conditions.
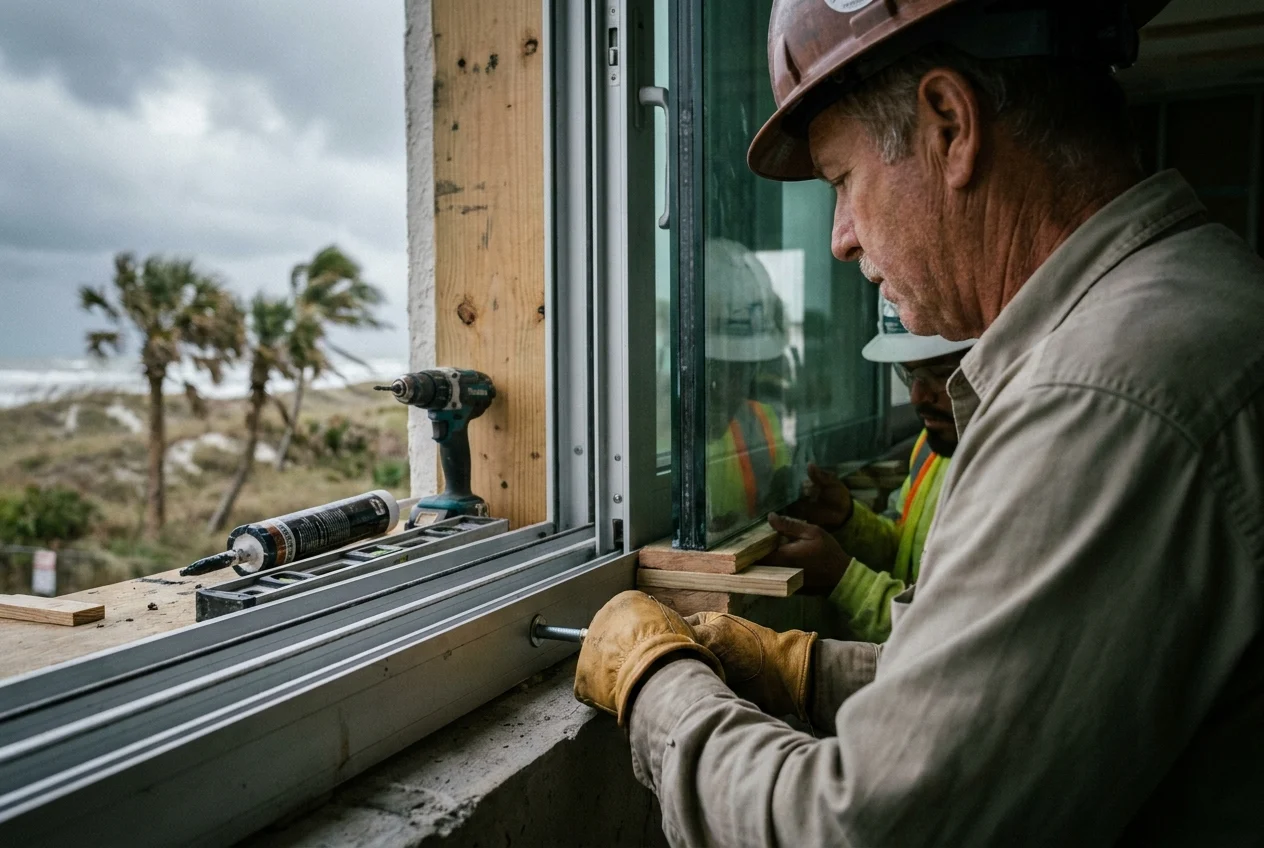
Review the Installation From Both Sides
Inspecting only the interior can leave important problems unnoticed. From outside, look for continuous perimeter sealant, properly finished frame corners, unobstructed drainage openings, and visible gaps between the door and wall.
From inside, examine the drywall, trim, flooring, and frame edges. Fresh paint or new trim should not be used to hide gaps, moisture damage, or an uneven opening.
Inspect Multi Panel and Pocket Door Configurations Carefully
Multi panel sliders should stack, meet, and lock in the intended sequence. Each panel should remain aligned as it moves, and interlocks should engage without striking or separating.
Because these larger systems have more panel connections, rollers, tracks, and locking points, small alignment errors can affect the entire assembly. One panel that does not fully engage can create an opening for wind, rain, and air leakage.
Recognize Problems That Can Appear Over Time
Some installation defects are immediately obvious, while others develop after repeated heat cycles, heavy rain, and seasonal movement. A door that becomes increasingly difficult to operate within a short period may be settling, loosening, or responding to frame distortion.
Recurring caulk cracks, growing gaps, rust stains, loose trim, damaged flooring, or repeated roller adjustments should not be treated as normal maintenance without identifying the underlying cause.
Distinguish Maintenance Issues From Installation Defects
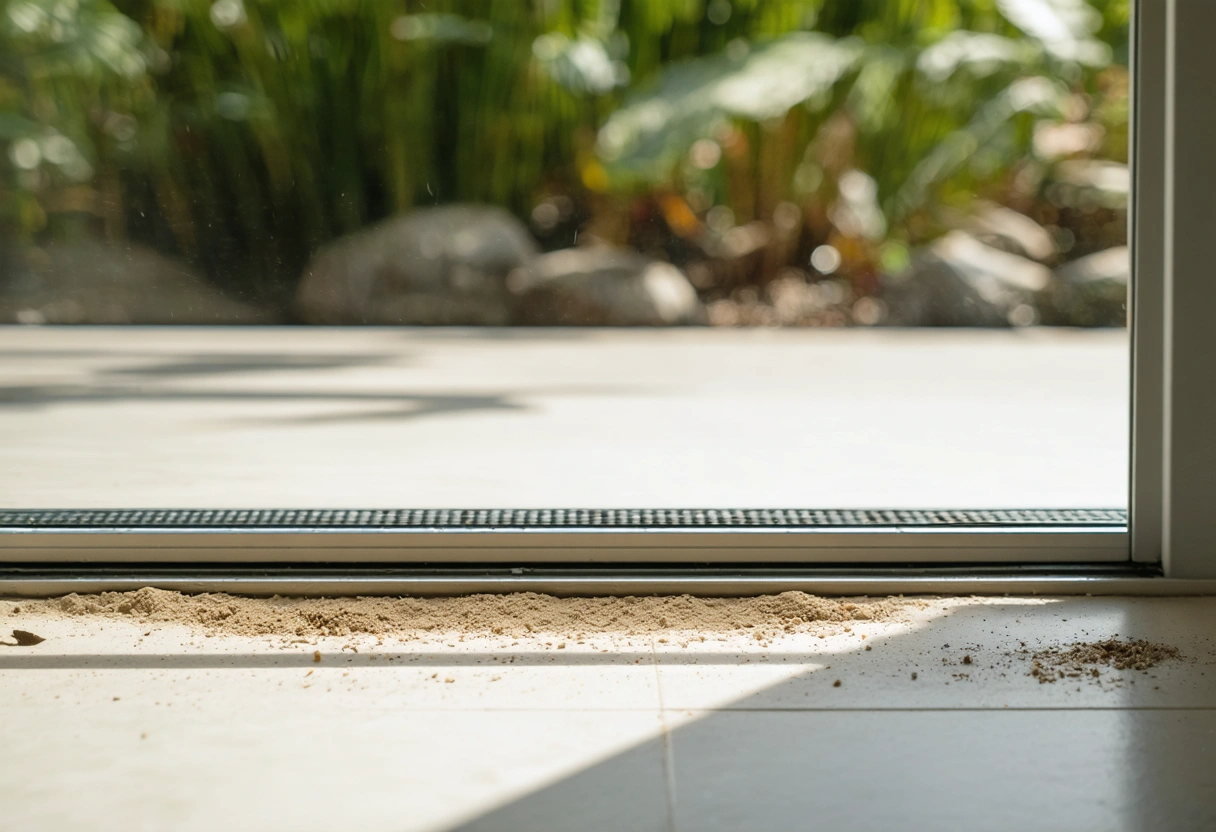
Sand, pet hair, leaves, and dirt can collect in the track and make a properly installed door harder to move. Rollers and locks may also need periodic adjustment as components wear.
Problems that return quickly after cleaning or adjustment may indicate a deeper concern. A bowed frame, unsupported sill, incorrect anchoring pattern, or water management defect generally cannot be corrected through routine maintenance alone.
Document Concerns Before Repairs Are Made
If you suspect an installation problem, take clear photographs and videos before removing trim, applying additional sealant, or adjusting hardware. Record the location of leaks, the weather conditions when they occur, and how the panel behaves during operation.
Keep copies of the contract, permit information, product labels, warranty documents, and any inspection records. These materials may identify the door model and installation requirements while clarifying which party is responsible for product concerns or installation corrections.
When to Request a Professional Inspection
Request a professional evaluation if the door leaks into the home, will not lock securely, repeatedly comes out of alignment, or shows signs of frame movement.
An experienced sliding glass door installer can evaluate the opening, frame alignment, anchors, sill support, drainage, weatherstripping, and sealant. For homeowners across Sarasota, Manatee, and Charlotte Counties and nearby Gulf Coast communities, a careful inspection helps confirm whether adjustment, repair, or proper reinstallation is needed.
Need help with How to Tell If Your Sliding Glass Door Was Installed Correctly?