





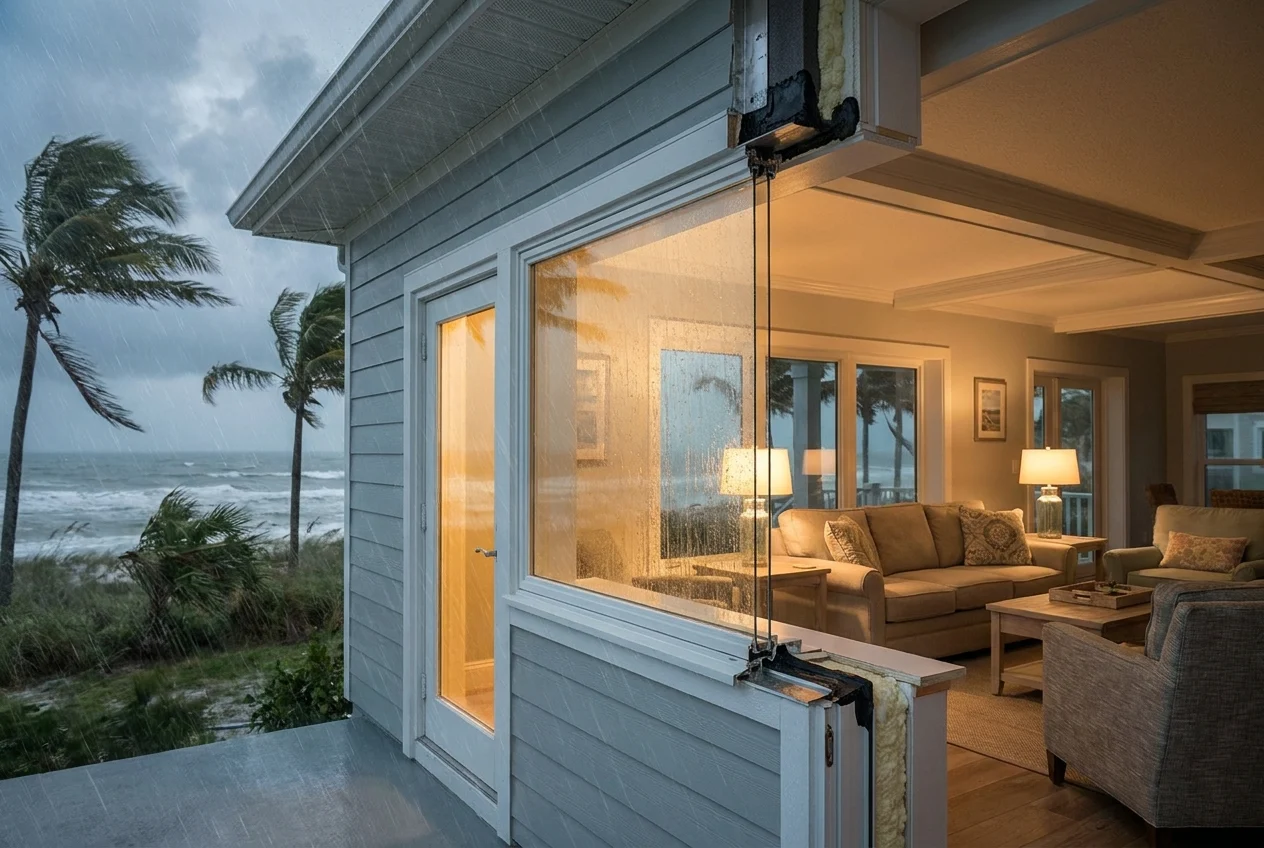
Windows do more than bring natural light into a home. When installed correctly, they become part of the building envelope, helping manage moisture, airflow, temperature changes, and the pressure created by severe weather.
Many window problems that appear months or years after a project are not caused by the window unit alone. Leaks, drafts, rot, fogging, and storm-related damage often begin with installation details that were missed, rushed, or handled with the wrong materials.
Why Installation Quality Matters as Much as Window Quality
A high-performance window can only perform as intended when it is installed into a properly prepared opening. The frame must be level, square, and securely fastened so the sash can operate correctly and the seals can maintain consistent contact. If the unit is twisted, over-shimmed, under-supported, or forced into an uneven rough opening, small gaps can form around the frame and create pathways for air and water.
Proper installation also connects the window to the surrounding wall system. This includes flashing, sealants, insulation, and exterior trim details that work together to direct water away from the opening. When these components are installed in the correct sequence, they help prevent moisture from becoming trapped behind siding or inside the wall cavity.
Even minor mistakes can affect long-term performance. A bead of sealant in the wrong place can block drainage, while missing flashing tape can allow wind-driven rain to reach the sheathing. Over time, these defects may lead to stains, peeling paint, swollen trim, mold growth, or hidden structural deterioration.
The Role of the Building Envelope
The building envelope is the outer shell of the home that separates indoor living space from outdoor conditions. Windows are one of the most important transitions in that shell because they interrupt the wall surface and introduce joints, corners, and seams that must be protected.
Professional window installation focuses on making that transition durable. Instead of treating the window as a stand-alone product, the installer must integrate it with housewrap, flashing, insulation, siding, and interior finishes. This approach helps the home resist water intrusion, uncontrolled airflow, and energy loss.
How Proper Flashing Helps Control Water Intrusion
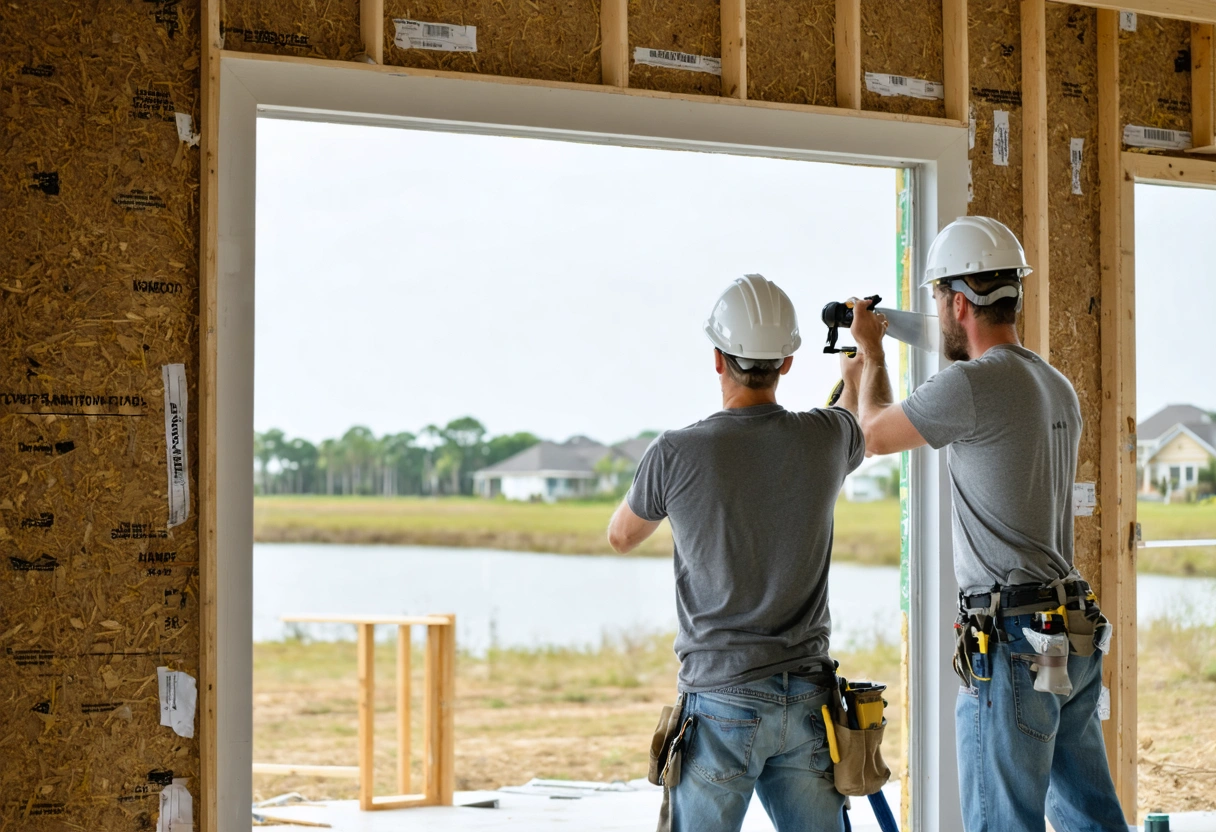
Flashing is one of the most important defenses against window leaks. It is designed to guide water down and away from the window opening before it can enter the wall assembly. When flashing is installed correctly, it works with gravity rather than against it, creating a layered drainage path that sheds rainwater to the exterior.
A typical flashing system may include sill flashing at the bottom of the rough opening, side flashing along the jambs, and head flashing above the window. Each layer should overlap the layer below it so water cannot run behind the protective barrier. This sequencing is especially important in areas that experience heavy rain, strong winds, or frequent freeze and thaw cycles.
The sill area requires special attention because it is the most likely place for water to collect. A properly prepared sill can include a sloped surface, a sill pan, or flexible flashing that directs incidental moisture outward. Without this protection, water that gets past the exterior cladding may settle beneath the window and gradually damage framing materials.
Common Flashing Mistakes That Lead to Leaks
One common mistake is relying on caulk alone to stop water. Sealant can be a useful part of the system, but it should not be the only barrier against moisture. Caulk can shrink, crack, or separate over time, especially when exposed to sunlight, temperature movement, and repeated wetting.
Another issue is improper layering. If head flashing is tucked behind the wrong material or side flashing is installed out of sequence, water may be directed into the wall instead of away from it. These errors are not always visible after siding or trim is installed, which is why careful workmanship during the installation process is essential.
Preventing Drafts Through Proper Air Sealing
Drafts are often blamed on old glass or poor window design, but air leakage frequently occurs around the window frame rather than through the window itself. If the gap between the window unit and the rough opening is not sealed correctly, outdoor air can move into the home and conditioned indoor air can escape.
Proper air sealing begins with a consistent gap around the window. The opening should allow enough room for shimming, insulation, and normal building movement without forcing the frame out of alignment.
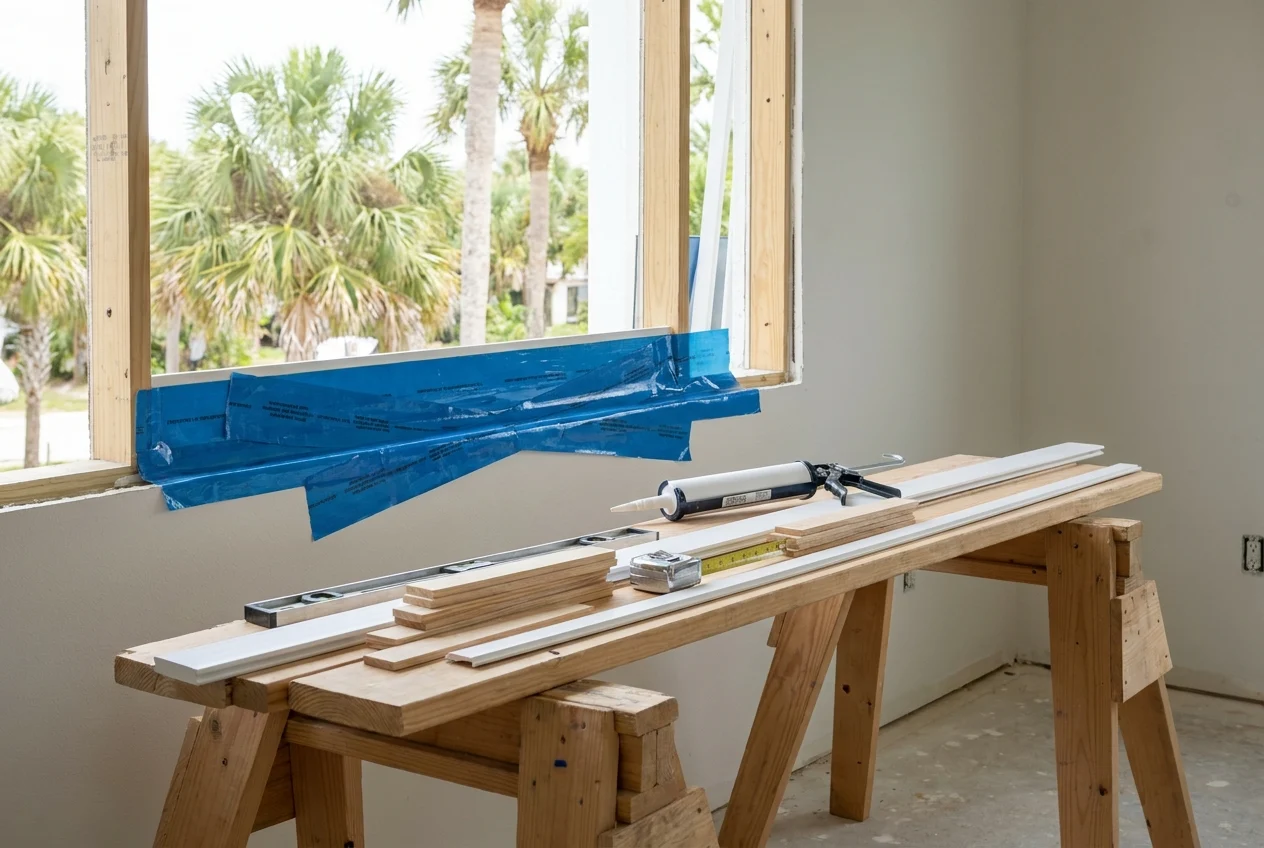
Low-expansion foam is commonly used because it can fill small gaps while limiting pressure on the window frame. Standard high-expansion foam may push against the frame as it cures, which can cause the sash to bind, locks to misalign, or weatherstripping to lose contact.
Why Interior and Exterior Seals Must Work Together
A durable window installation typically includes more than one line of defense. The exterior side should manage bulk water and weather exposure, while the interior side should reduce air leakage and limit warm, moist indoor air from entering the wall cavity.
This distinction matters because moisture can move with air. In cold weather, warm indoor air that leaks into a cooler wall cavity may condense on framing, sheathing, or the back side of exterior materials.
By creating a well-sealed interior perimeter and a properly flashed exterior perimeter, installers help control both air movement and moisture migration. The result is a more comfortable room, better energy performance, and less risk of hidden moisture problems around the window opening.
How Correct Window Alignment Improves Weather Protection
Window alignment affects more than appearance. A window that is not level, plumb, and square may not close evenly, even if it looks acceptable at first glance.
For double-hung windows, poor alignment may cause the sash to rub, drift, or fail to lock securely. For casement windows, a twisted frame can keep the sash from pulling tightly against the seal when the crank is closed.
Professional installers check the unit throughout the installation process rather than only at the end. They confirm that the sill is level, the side jambs are plumb, the diagonals are equal, and the sash operates smoothly before final fastening and insulation.

The Importance of Proper Shimming and Fastening
Shims help support the window and hold it in the correct position inside the rough opening. They should be placed at key support points, such as near hinges, locks, meeting rails, and fastener locations.
Fasteners must also be installed according to the window type and wall conditions. Fastening too tightly can distort the frame, while fastening too loosely can allow movement during wind events or repeated operation.
Correct shimming and fastening are especially important for larger window units, mulled combinations, bay windows, bow windows, and patio doors. These assemblies are heavier and more sensitive to movement, which means they require careful support to prevent sagging, water intrusion, and operational problems.
Reducing Storm Damage With Strong Installation Practices
During storms, windows are exposed to wind pressure, wind-driven rain, flying debris, and rapid changes in outdoor conditions. While the strength of the window unit itself is important, the installation determines how well that unit transfers forces into the surrounding structure.
A properly installed window is anchored securely to framing that can support it. The fasteners, spacing, shims, and surrounding materials all contribute to resistance against movement.
Storm protection also depends on drainage. Heavy rain rarely falls straight down during severe weather. Wind can push water upward, sideways, and behind exterior trim.

Why Rough Opening Condition Matters Before Installation
The rough opening must be inspected before a new window is installed. If the framing is rotted, cracked, out of square, or weakened by prior leaks, the new window may not have a stable base.
Repairing the rough opening may include replacing deteriorated wood, correcting framing irregularities, improving the sill slope, or addressing old water damage. These steps can add time to the project, but they are critical for long-term leak prevention and storm resistance.
In coastal regions or areas with frequent high winds, installation may also need to follow specific manufacturer instructions or local code requirements for wind performance.
Preventing Rot, Mold, and Hidden Wall Damage
Leaks around windows are not always obvious. Some water intrusion appears as visible staining on drywall or trim, but other leaks travel behind siding, insulation, or interior finishes.
Proper installation reduces this risk by controlling where water goes after it reaches the window area. Since no exterior wall system should be expected to remain perfectly dry forever, good installation practices allow incidental moisture to drain or dry rather than become trapped.
Trapped moisture can lead to wood rot, mold growth, unpleasant odors, soft drywall, damaged insulation, and compromised sheathing. In severe cases, structural repairs may be needed around the window opening.
How Drainage and Drying Paths Protect the Wall
Effective window installation allows water to escape at the exterior side of the assembly. Sill pans, sloped sills, weep paths, and properly lapped flashing all help guide moisture outward.
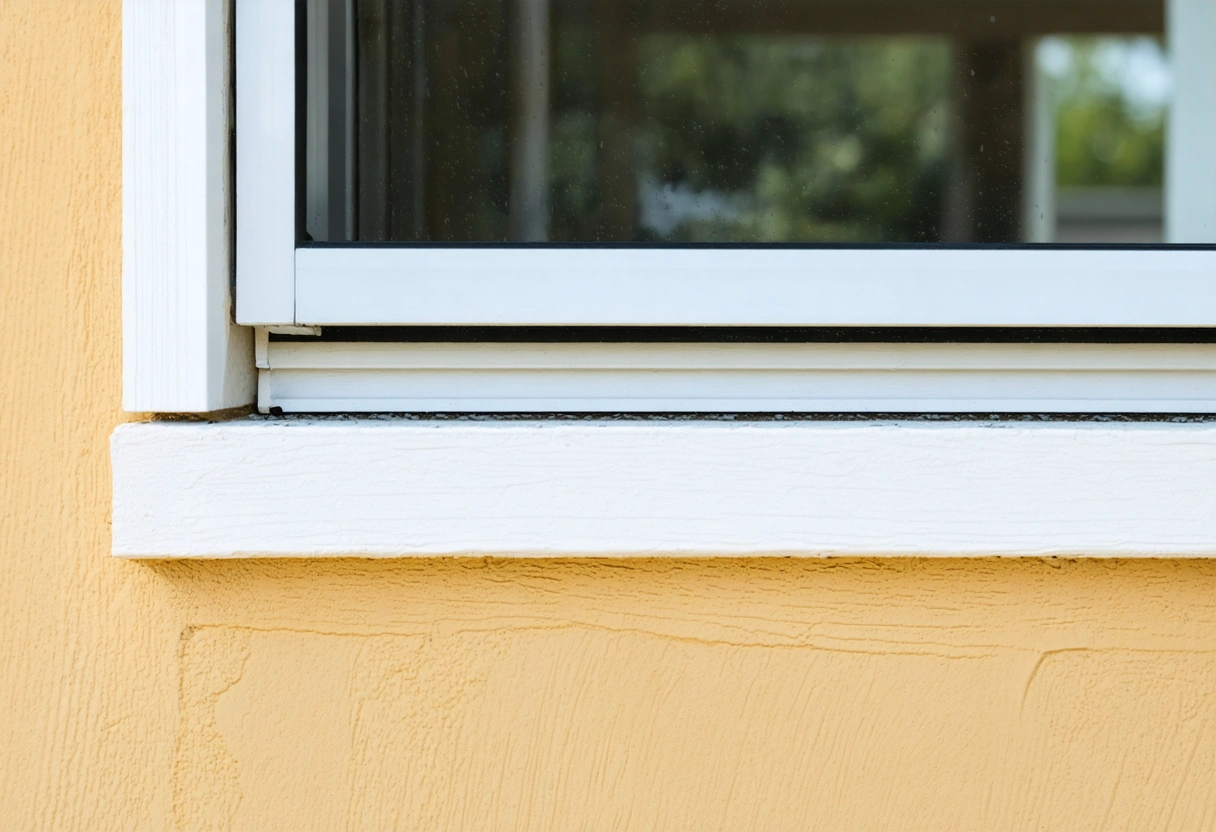
Drying is also important. Some materials allow limited vapor movement, while others are more vapor resistant. Installers must be careful not to trap moisture between impermeable layers or block drainage openings with caulk, foam, or trim.
Energy Efficiency Benefits of Proper Window Installation
Energy-efficient windows can reduce heat transfer through advanced glass packages, insulated frames, low-emissivity coatings, and gas fills. However, those benefits can be undermined if the installation leaves gaps around the unit or creates pressure points that affect sash performance.
Air leakage around poorly installed windows can make heating and cooling systems work harder. Rooms may feel chilly near the window in winter or warmer in summer, even when the glass itself is performing well.
When a window is installed with proper insulation, air sealing, and alignment, it can perform closer to its rated efficiency. This helps improve comfort and may reduce strain on HVAC equipment.
Comfort Improvements Beyond Utility Savings
Proper installation can also reduce cold spots, hot spots, and noticeable temperature swings near windows. When the frame is sealed evenly and the sash closes as designed, the room feels more stable and comfortable throughout the year.
Better installation may also reduce outside noise, dust infiltration, and insect entry. While these benefits depend on the window type and surrounding construction, a tight, well-integrated installation helps the entire opening perform more reliably.
Need help with How Proper Window Installation Helps Prevent Leaks, Drafts, and Storm Damage?